
Router templates simplify woodworking projects. They help achieve precise, consistent cuts.
Creating your own router templates can be a game-changer for DIY enthusiasts. They allow you to replicate complex shapes and designs effortlessly. No need to buy expensive, pre-made templates. With a bit of effort, you can make custom templates suited to your needs.
Whether you’re crafting furniture, cabinets, or decorative pieces, homemade router templates can save time and improve accuracy. In this guide, we’ll explore the basics of DIY router templates. You’ll learn how to design and create your own. Get ready to elevate your woodworking skills with these handy tools.

Credit: www.instructables.com
Introduction To Router Templates
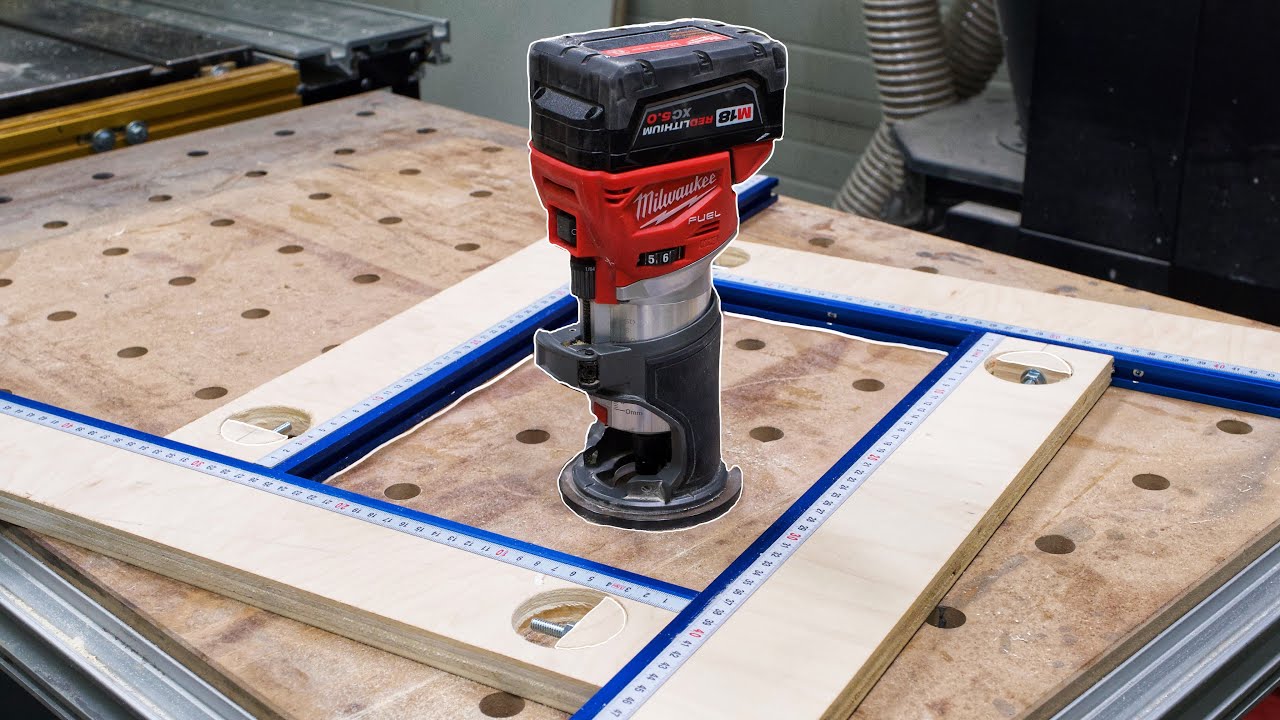
Router templates help create precise shapes and patterns. They save time and effort. Templates make repeated cuts easy and accurate. Using them, you get professional results even at home. Templates are great for woodworking projects. You can make signs, furniture, and more. They guide the router for clean cuts. You do not need to measure each cut. Templates are reusable. You can use them again and again.
Templates help you save time. They make repeated tasks simple. You get consistent results. Every cut is the same. They reduce mistakes. You do not need to measure every time. Templates are easy to use. They improve your work quality. You can create complex designs. Templates help with safety too. They guide the router, so you have better control. Your work looks professional. Even if you are new to woodworking.
To start, you need a router. A good router makes your work easier. You also need router bits. Different bits for different cuts. Get a template guide too. It helps the router follow the template. You need clamps to hold the template in place. A pencil and measuring tape are useful. For safety, use goggles and ear protection. Having these tools makes your work easier and safer.
Credit: www.youtube.com
Choosing The Right Material
Wood is a popular material for router templates. It is easy to find and affordable. Wood is also simple to cut and shape. But, wood can wear out quickly. It might not last long if used a lot.
MDF, or medium-density fiberboard, is another choice. It is smooth and stable. MDF does not warp easily. But, it can produce dust when cut. Dust can be harmful if breathed in.
Acrylic is clear and strong. It is durable and does not wear out fast. But, it can be harder to cut than wood or MDF. Acrylic might also cost more.
Each material has its pros and cons. Choose based on your needs and tools.
Designing Your Template
Draw your idea on paper first. Keep it simple. Use a pencil for changes. Draw clear lines and shapes. Make sure they fit together well. Measure everything twice. This helps avoid mistakes.
Place your sketch on your material. Use tape to hold it down. Trace over the lines with a pencil. Make sure you trace carefully. Remove the paper. Now your design is on the material.

Cutting Out The Template
A jigsaw is perfect for cutting curves. Draw your template on wood. Use a pencil or marker. Clamp the wood to a sturdy table. Make sure it does not move. Put on safety goggles and gloves. Start cutting along the line. Move slowly and carefully. Follow the line closely. The jigsaw blade should be sharp. Check it often. Smooth the edges with sandpaper. Your template is now ready.
A CNC machine is precise and quick. First, create the design on your computer. Transfer the design to the CNC machine. Secure the wood on the machine bed. Check that it is tight. Start the machine. It will cut the design perfectly. Monitor the process closely. The machine does most of the work. Sand the edges for a smooth finish. The template is ready for use.
Finishing The Template
Use sandpaper to smooth the edges. Start with coarse grit. Then use fine grit. This makes the edges smooth. It helps your template work better.
Apply a finish to protect the template. Use varnish or paint. Let it dry fully. This keeps the template in good shape. It lasts longer this way.

Credit: www.youtube.com
Using The Template With A Router
First, place your template on the wood. Ensure it is in the correct position. Use clamps to hold it down. Make sure the template does not move. Check the template often. This helps keep it secure.
Next, set your router on the template. Move the router slowly. Follow the edges of the template. Do not rush. Take your time for clean cuts. Check your work often. Adjust as needed. This helps you stay on track.
Advanced Techniques
Creating DIY router templates involves precision and creativity. These advanced techniques help shape wood effortlessly, allowing for unique designs. Perfect for woodworking enthusiasts aiming for professional results.
Creating Complex Shapes
Making complex shapes with router templates can be fun. You need to plan well. Start with a simple shape. Then add more details step by step. Use a pencil to draw the shape on wood. Cut out the big parts first. Use small router bits for tiny details. Be patient. Take breaks if needed. Complex shapes need time and care. Practice helps you get better.
Combining Multiple Templates
Combining multiple templates can create unique designs. Start with two simple templates. Place them on your wood piece. Trace around each template. You can overlap the shapes. This makes new patterns. Use clamps to hold templates steady. Rout the wood along the traced lines. Switch templates for different designs. Mix and match for variety. This method is very creative. You can make many unique shapes.
Maintaining And Storing Templates
Dust and dirt can harm your templates. Use a soft brush to remove loose debris. Wipe them with a damp cloth. Avoid soaking them in water. Water can warp the material. Dry them thoroughly. This keeps the templates in good shape.
Store templates in a dry place. Moisture can damage them. Use a dedicated box or drawer. This prevents damage from other tools. Label each template. This helps you find the right one quickly. Stack them flat. This avoids bending or warping.
Common Mistakes And How To Avoid Them
Misalignment can ruin your project. Always check your template before starting. Secure it well. A loose template will shift. This causes mistakes. Double-check your measurements. Accurate measurements help avoid misalignment. Use clamps to hold the template. Clamps keep it steady. Stability is key.
Tear-out makes edges rough. Sharp bits prevent tear-out. Dull bits cause damage. Move the router slowly. Fast movements cause tear-out. Cut with the grain. Against the grain causes more tear-out. Use backing boards. Backing boards support your work. They reduce tear-out.
Frequently Asked Questions
What Is The Best Material To Make Router Templates Out Of?
The best material for router templates is 1/4-inch thick acrylic or MDF. Both are durable and easy to work with.
How To Make A Template For A Router?
To make a router template, draw your design on a piece of wood. Cut out the shape with a jigsaw. Sand edges smooth, then attach the template to your workpiece. Use a router with a pattern bit to follow the template’s edge.
What Is The Best Thickness For A Router Template?
The best thickness for a router template is 1/4 inch. This ensures stability and precision during use.
What Router Bit To Use For Templates?
Use a flush trim router bit for templates. It ensures precise cuts and follows the template’s edges accurately. Choose either a top-bearing or bottom-bearing flush trim bit based on your project needs.
Conclusion
Creating your own router templates can be a fun project. It saves money and customizes your work. Simple tools and materials make the process accessible. Your creativity is the limit. Start designing and enjoy the personal touch you add. With practice, your skills will improve.
Soon, you’ll have a collection of unique templates. Happy crafting!
Recent Posts
Many people wonder if they can safely burn firewood that might have termites. It's a common question because nobody wants to damage their home or start a fire that's not safe. The good news is,...
It’s pretty common for folks to wonder, Can You Hear Termites Eating Wood? Warning Signs can sometimes be sneaky, and for those new to spotting them, it might feel a little tricky. You might be...